Import wizard
The import wizard walks you through an import, step by step. This page describes each step.
To start the wizard, go to the Import section, open CMSImport and select Import data.
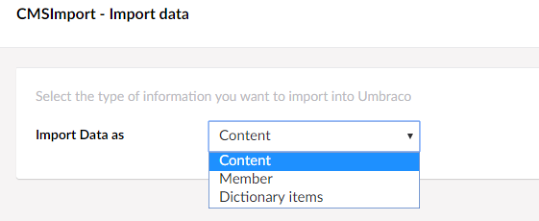
1. Select the import type
Choose what you want to import: Content, Member or Dictionary items.
2. Select the data source type
Choose the type of data you want to import.
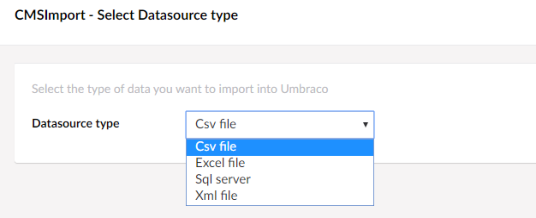
The available types are listed in Supported data sources. BlogML, WordPress, RSS feed and JSON file need an extra package. You can also create your own data source type.
3. Select the data source
Enter the details for the selected data source type. The options differ per type. In general you select a file, enter a URL, or enter a connection string so CMSImport can read the data.
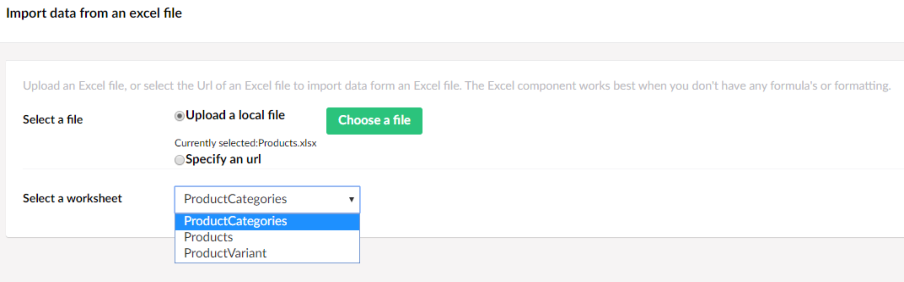
For an Excel file, upload an .xls or .xlsx file or point to its location. Click Next, then pick the
worksheet from the drop-down.
4. Set the import options
The options in this step depend on the import type you selected in step 1.
Content import options
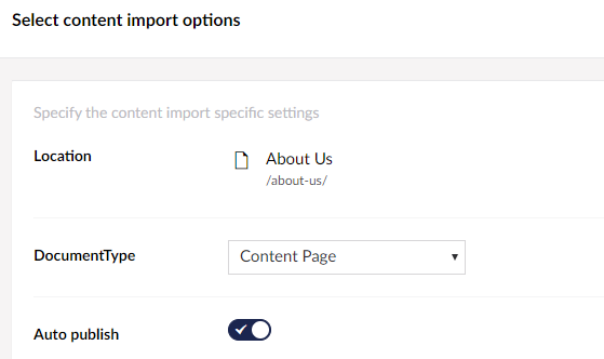
Location and Document Type
Choose where in the content tree to store the imported documents, and which Document Type to use. Select Auto publish to publish the imported items automatically.
Update options
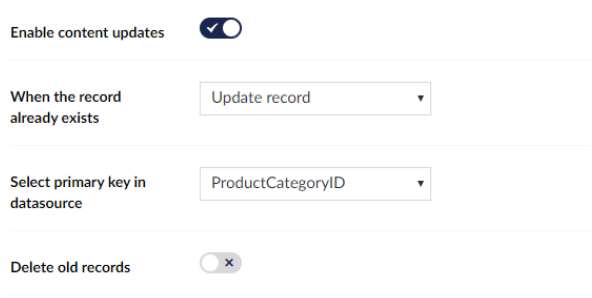
These options let you run the same import again and update content that was imported earlier.
- When the record already exists — choose Skip or Update record.
- Select primary key in datasource — the field in the data source that identifies a record. CMSImport uses it to see whether a record was already imported.
Warning
Only clear Enable content updates when your data source has no primary key. CMSImport then stores no relation between the source record and the Umbraco document. When you run the import again, every record is imported as a new document.
Recursive options
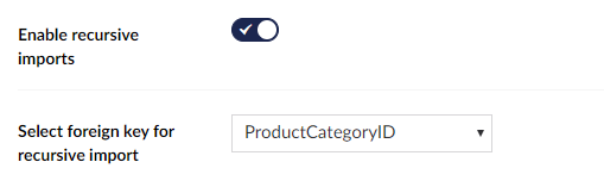
CMSImport can keep the structure of your data. Normally you do this with parent and child import definitions. Sometimes the data refers to itself instead, for example product categories that have a parent category.
Select the recursive import option and choose the field that holds the key of the parent record, for example
ParentProductCategoryID.
Note
When you run this step for a child import definition, some options are disabled and a few extra options appear. See Structured content import.
Delete old records
Select Delete old records to remove items whose records are no longer in the data source. CMSImport checks this during the import, based on the data source type, primary key name and primary key value.
Warning
Make sure this combination is unique when you have multiple import definitions. Otherwise CMSImport can delete records that came from a different data source.
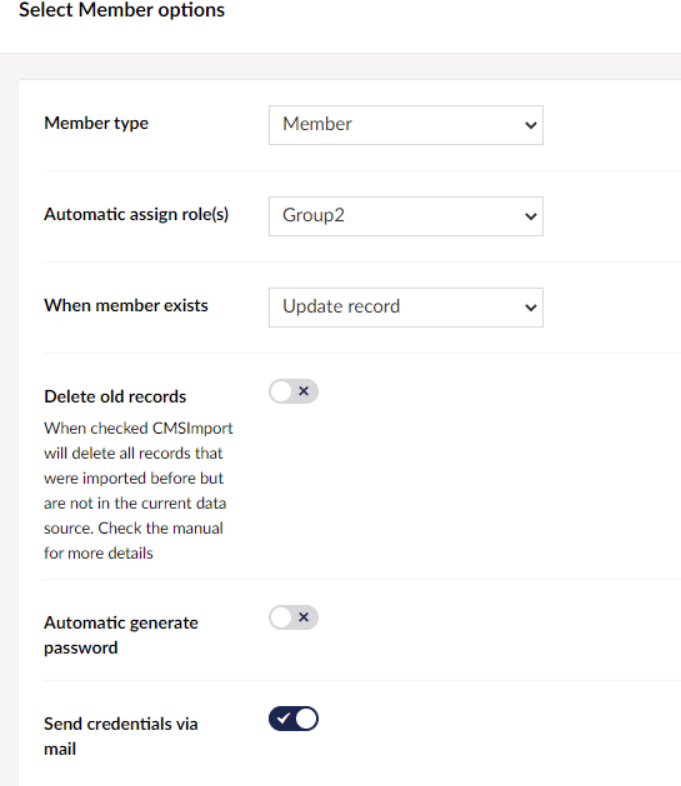
Member import options
- Member type — the Member Type of the imported members.
- Automatic assign role(s) — the Member Group to add the imported members to.
- When member exists — choose Skip or Update record.
- Automatic generate password — generates a password for each imported member.
- Send credentials via mail — emails the login details to each imported member. You can change the email template; see Configuration.
- Delete old records — works the same as for content.
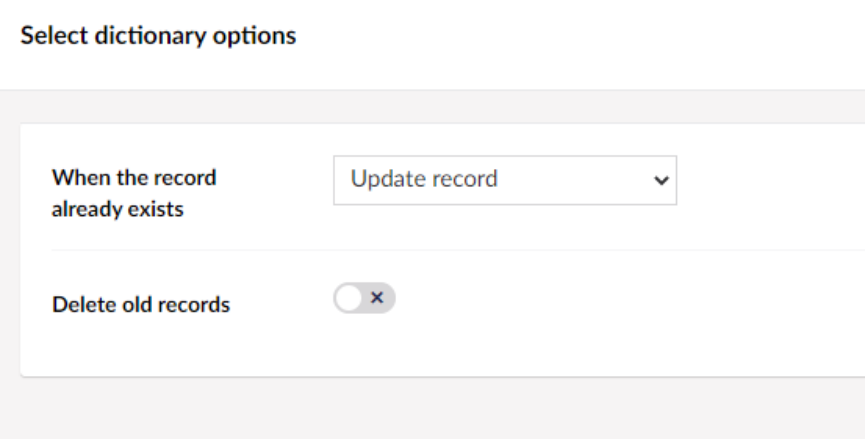
Dictionary import options
- When the item already exists — choose Update or Skip.
- Delete old records — works the same as for content.
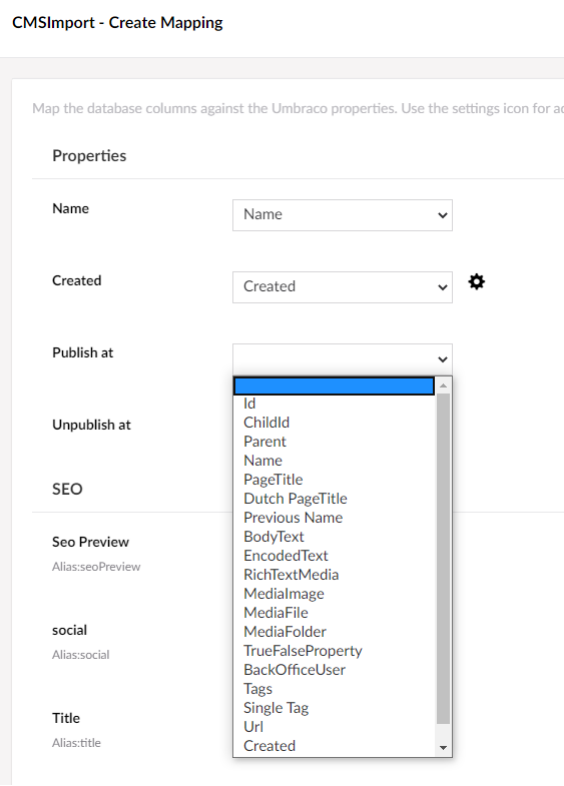
5. Create the mapping
Map each field from the data source to a property of the Umbraco Document Type.
Tip
When a field name in the data source is the same as the alias of a property, CMSImport maps it automatically.
Some property types need more mapping:
- Block Grid and Block List — see Block editor mapping.
- Multilingual Document Types — see Multilingual mapping.
Additional settings
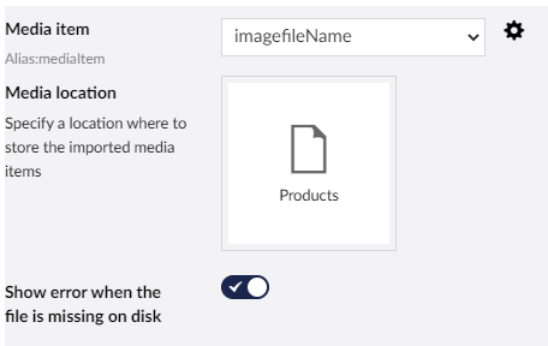
Most property editors have extra options. Click the settings icon next to a mapping to open them. For example, when you map to a Media Picker or Rich Text Editor, you can set where media is stored and enter a default value. See Related media import.
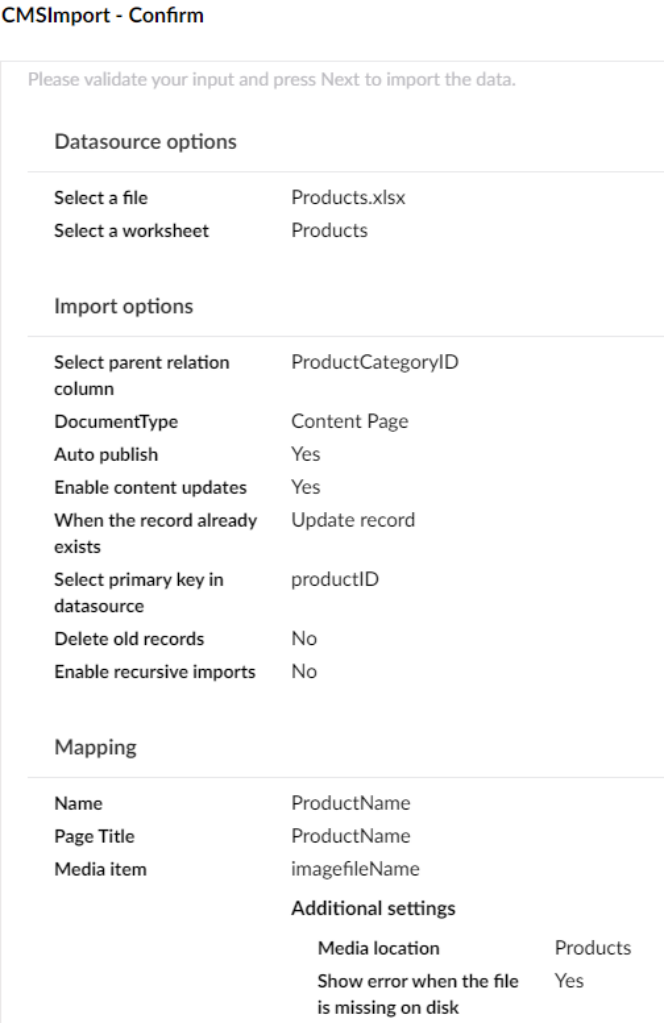
6. Confirm
Check the selected options one more time. Click Next to start the import.
7. Import
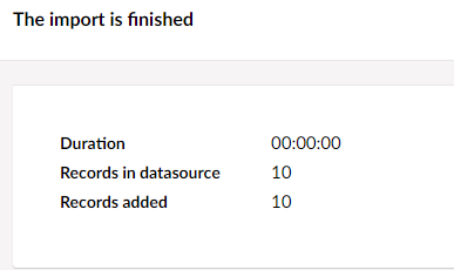
CMSImport runs the import and reports what it did, including any errors.
Save the import
Click Save, enter a name and click Save again. The wizard steps are stored so you can run the import later or schedule it. Create copy saves a copy of the current import.
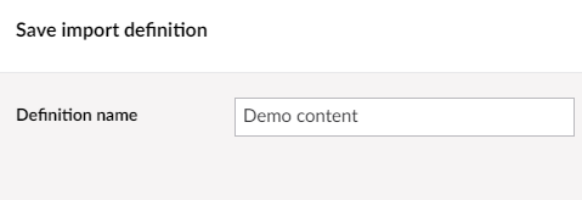
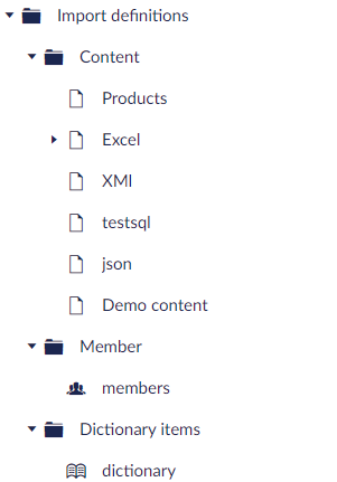
Saved imports are called import definitions. You find them in the Import definitions tree.