Installation
This page explains how to install SEOChecker, add your license and give users access.
Install the package
Install SEOChecker from NuGet in your Umbraco project:
Run the site. SEOChecker creates its database tables and finishes the installation on the first request to the website. You now have an SEO Checker section in the backoffice.
Note
The database user of your site needs rights to create tables.
Add your license
Download your license file from your account, then add it in one of these ways:
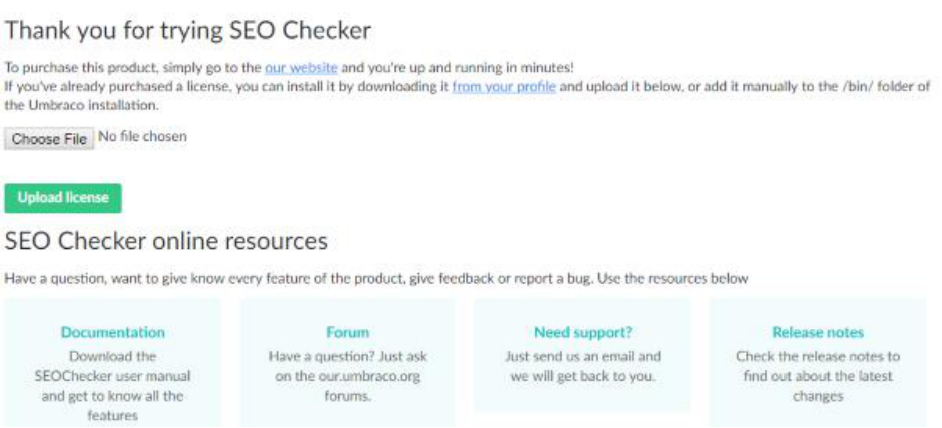
- Upload it in the backoffice. Open the SEO Checker section. While SEOChecker runs in trial mode, the dashboard shows where to upload the license.
- Copy it to disk. Place the license file in the
umbraco/Licensesfolder of your site.
Give users access
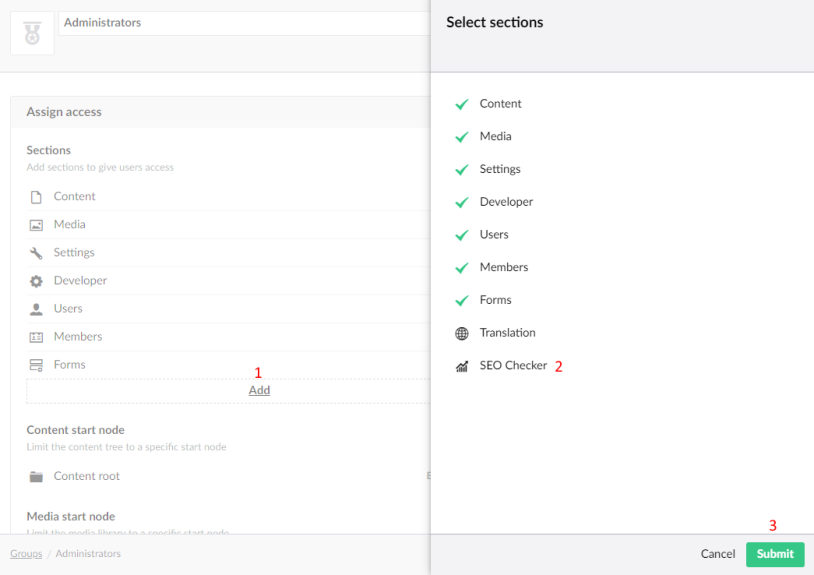
The user group of the user who installed SEOChecker gets access to the SEO Checker section automatically. To give another user group access:
- Go to the Users section and open the user group.
- Under Sections, add SEO Checker.
- Save the user group.
You can also set what each user group may do inside SEOChecker. See User group permissions.